 Babywearing jackets are expensive and hard to find, but you need to keep yourself and baby warm. I copied a jacket I saw online to make this jacket to keep my daughter warm when we took my son to the bus stop. Now you can sew your own fleece babywearing jacket too, starting from a basic pattern you can buy online or at fabric stores.
This jacket features a finished hole in the back for your baby’s head and ease built in to accommodate baby. Above and below the baby, the jacket remains sized to you for warmth. There is no closure for the baby’s opening, so you’d only want to wear this with a baby on your back.
This tutorial assumes you have some sewing experience. You don’t have to be a master seamstress, but this probably shouldn’t be your first sewing project either.
Click on any photo to see it larger.
Materials:
- Basic fleece jacket pattern such as Simplicity 2480 (View A) or McCall’s 5252
- Fleece (might need a little more than your pattern calls for. I used 1 5/8 yds for my size XL)
- Whatever supplies called for by pattern (zipper, etc.)
- For altering the pattern: paper, scissors, pen/pencil, ruler, french curve (optional)
Alter the Jacket Pattern:
To turn this jacket into a baby-wearing jacket, most of the altering will be on the back pattern piece, along with a little on the front piece, and the creation of two new pieces.
Front
The only change to the front piece is to lengthen it by 4 inches. Your pattern may have a line that says “shorten or lengthen here” and if so, that’s where you’ll want to add the length. If not, anywhere underneath the armhole should be fine.
(Note that you may want to buy a longer zipper than called for in the original pattern)
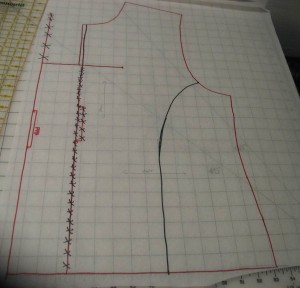
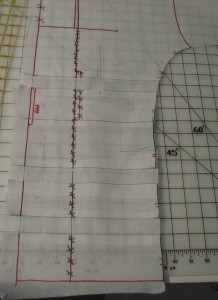
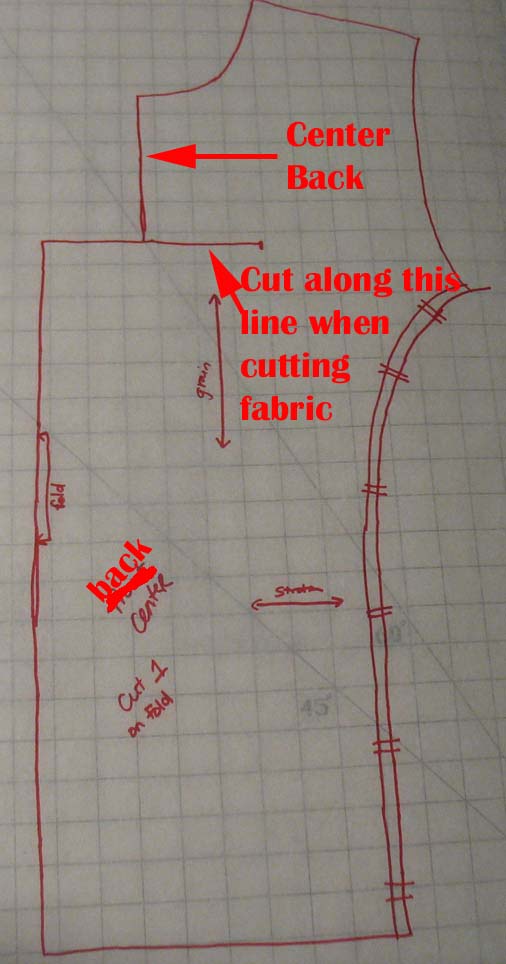
Back Center and Back Side
- Extend Center Back (CB) by 3″.
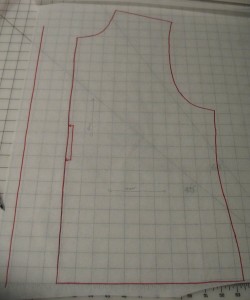
- Make a mark 5″ down on original CB.
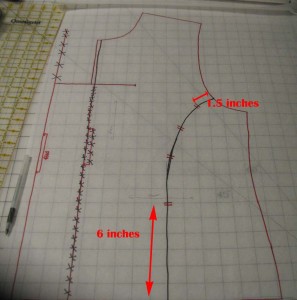
- Draw a perpendicular line 6” long at that mark, 3″ inside the back pattern, 3″ outside the pattern.
- Add ¼” seam allowance to CB line above the 6” line and true it up with the neckline
- Mark the new CB line to be cut on the fold. Cross out any line above the 6” horizontal line and the original CB line below the 6” horizontal line.
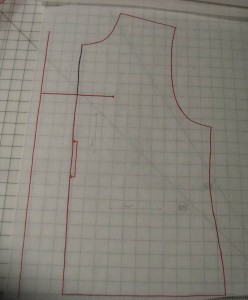
- 5 inches from the original CB line, make a mark on the bottom line of pattern. Approx 3 inches along armhole line, from the side, make a mark.

- Draw straight up from the bottom mark about 8” long. Draw a curve to the mark on the armhole. A French curve can help with this or you can freehand it.
- Make a mark on the line 6” from the bottom, about 1 ½” from the armhole, and then 2 more marks evenly spaced between the first two. Just eyeball it. Make sure the marks extend onto both sides of the line.
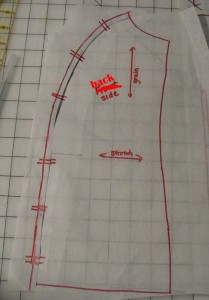
- Cut along this curved line. The smaller piece is the Back Side pattern piece. Add a 1/4″ seam allowance along the curve and now this piece is complete.
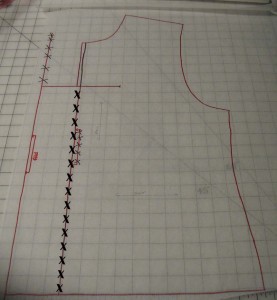
- The other piece is the Back Center pattern piece. Now draw 4 horizontal lines, perpendicular to the CB, between the bottom 5 hash marks.
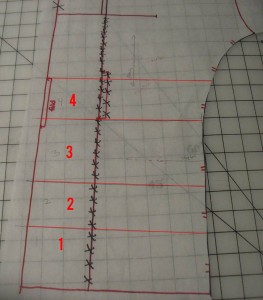
- Cut along each of those lines and add 1” to each section. True up the lines.
- Add 1/4″ seam allowance to the curve.


Final Back Center pattern:
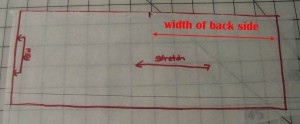
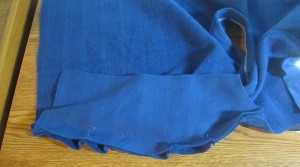
Back Bottom
- This is a new piece, and it’s a simple rectangle. The height is 4 ½”. The width is the same as the width of the original back pattern.
- Mark the left line to be cut on the fold.
- Measure the width along the bottom of the back side pattern. Make a mark along the top line at this measurement from the right line.

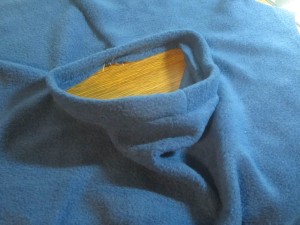
Child Opening Neckband
- This is also a new piece, and a simple rectangle. The height is 2 ¼” and the width is 9 ¼”.
- Mark one short side to be cut on the fold.
Cut the Fabric:
Following the cutting guide in your pattern with the following changes/additions:
- Back Bottom: cut 1 on fold
- Child Opening Neckband: cut 1 on fold
- Back Side: cut 2
- Back Center: Cut 1 on fold. Cut along the 3” line that extends into the pattern.
- Make a 1/8″-1/4″ snip at each hash mark.
Notes:
- Seams are ¼” in the following instructions. When you assemble the rest of your jacket, use the seam allowances called for in your pattern.
- Sew with right sides together unless otherwise specified. Since some fleece looks the same on the right side and wrong side, you might want to mark the wrong side of each piece.
- Seams can be finished with a serger or by cutting with pinking shears, but since fleece doesn’t ravel, it’s not really necessary and they can be left as is.
- Press all seams open or to one side unless otherwise specified.
Sew the Babywearing Jacket:
- Sew Center Back seam.
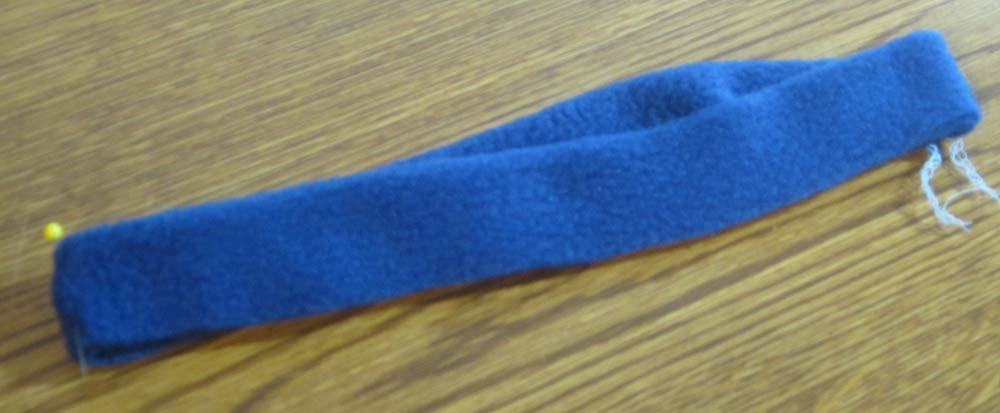
- Sew short ends of child neckband.
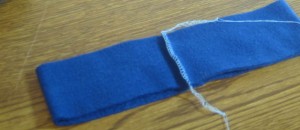
- Fold neckband in half, right side out, so long edges meet. Press. Baste long edges if desired.
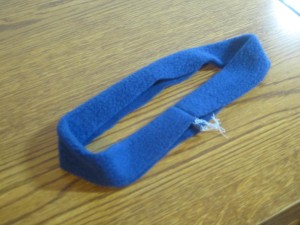
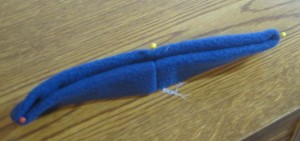
- Fold neckband so that edges meet and seam is on one fold. Place a pin perpendicular to the unfinished edge at the fold opposite the seam.

- Now fold neckband so that the pin and the seam meet. Place a perpendicular pin to each fold. The three pins and the seam divide the neckband into fourths.

- Divide and mark the opening in the back into fourths in the same manner.

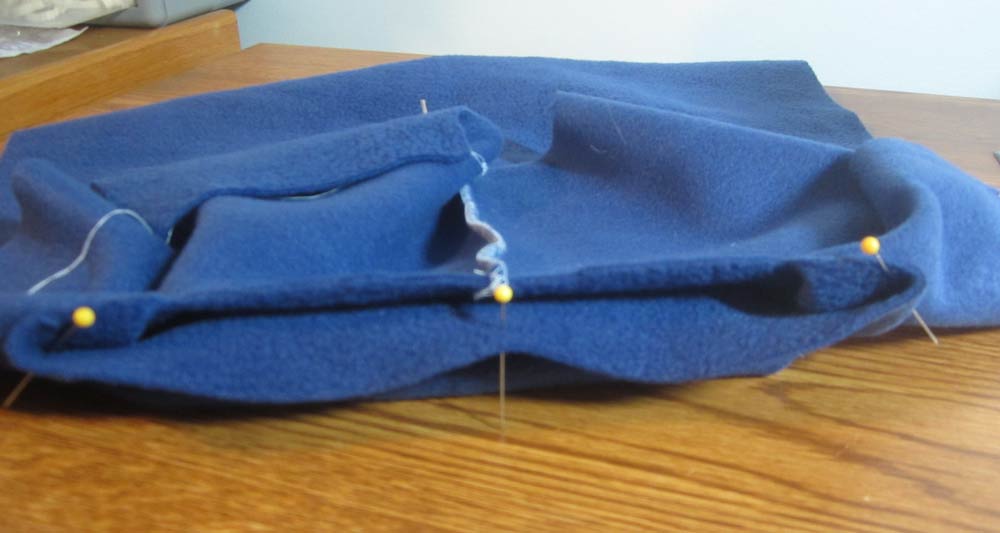
- Holding the jacket back right side out, pin the neckband around the outside of the opening, lining up raw edges, matching pins as follows:
- Line up the seam in the neckband with the bottom center pin
- Match up the three remaining pins
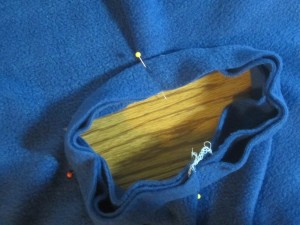
- Add more pins if necessary to stretch the neckband around the opening. Sew seam. Press to the inside.
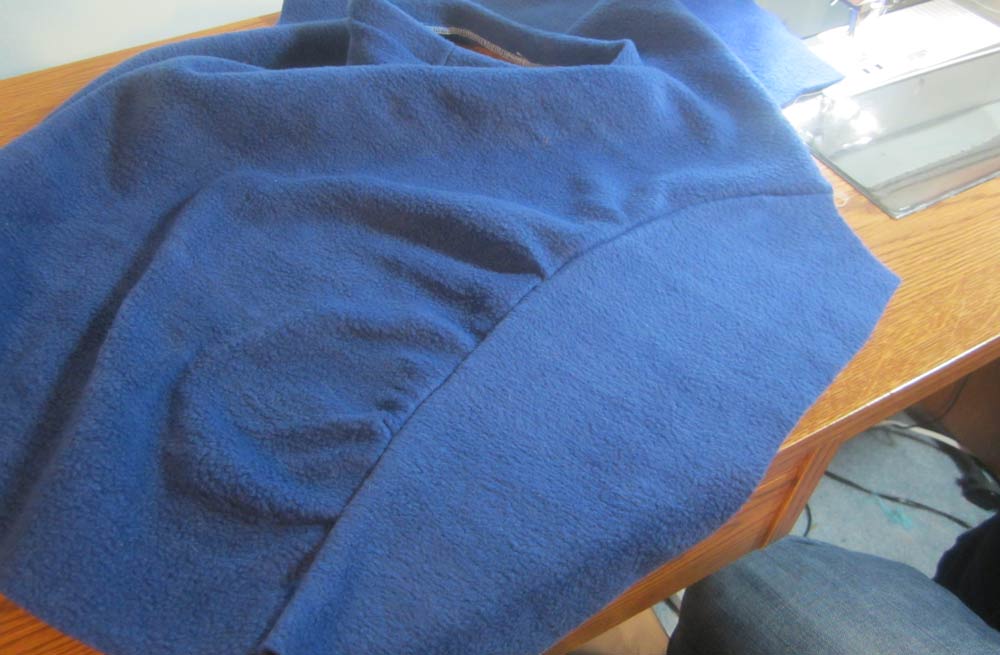
- Laying right sides of Back Center and Back Side together, match the curved seams where the notches are and pin at the notches. Notice the Back Center is longer than the Back Side.
- Use additional pins to distribute the fullness of the Back Center as evenly as possible between the notches. Sew. Repeat on other side.
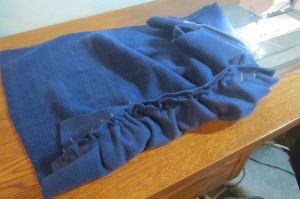

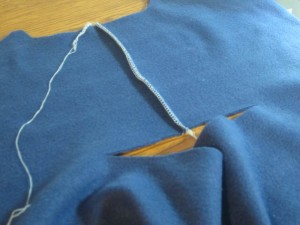
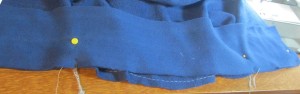
- Using a long stitch length, sew 1/2″ from bottom edge between the Back Side seams. These stitches will be used for gathering this seam.
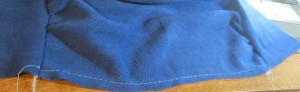
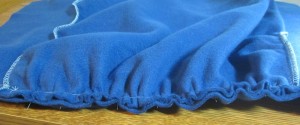
- Right sides together, pin the Back Bottom to the Back Center, matching the side seams and notches. Pin at the notches. Notice the Back Center is longer than the Back Bottom.
- Gently pull on one thread from the long stitches to gather the seam. Move the fabric along the threads to distribute it evenly between the notches. Pin as necessary.
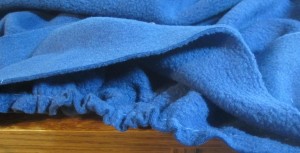
- Sew 1/4″ seam. Remove gathering stitches after seam is sewn.
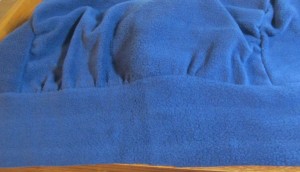
- The back is now assembled. Follow the instructions in your pattern to assemble the jacket.


How do you get the jacket on when baby’s on your back? Of course, it’s easiest if you have a helper to pull the opening over baby’s head, but it can be done if you’re alone as well. Rather than wrap the jacket around your back, bring it down your back from over your head and put your arms partially into the sleeves. You can get the jacket pulled down over your baby’s head and then finish pulling your arms through the sleeves. If your baby protests greatly about having blankets covering his/her head, you might not be able to get this on yourself.
 Although this jacket is designed to used when carrying baby on your back, it can be turned around to used when wearing baby on the front. You have zip the jacket up part-way and then pull it on like a sweatshirt. If you’re flexible enough, you can get the zipper up fairly far in the back, but you may need a helper to get it all the way zipped. Alternatively, use a scarf or shawl to cover your upper back/neck.