Nothing stops a stitcher’s heart like seeing a hole in the middle of a project that has hours and hours of hard work into it. Unfortunately, two-year-olds with scissors happen. Fortunately, it is possible to fix the holes without trashing the project!
(NOTE: These steps assume the fabric is a linen or an evenweave, not aida.)
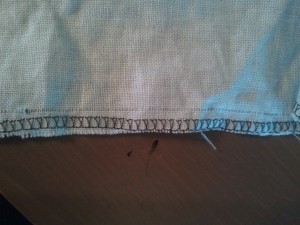
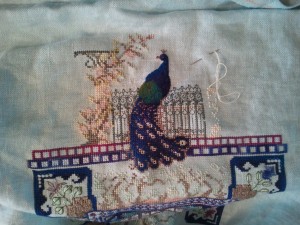
Step 1: Assess the damage
My toddler cut two holes in the fabric.
Once you have a cool head, study the damaged section and the surrounding stitching. We’re going to be removing all of the cut threads and weaving in new threads. For that, we’ll need sturdy stitching to tie off the ends and hold everything securely.
As you can see in my photo, I had some blackwork (running stitch) very close to one of the holes. Although I hated having to rip it all out and redo, it beats the alternative: starting the whole project all over again!
Cross stitches and kloster blocks (if the “knuckles” are along the cut edge) are sturdy enough to support the repaired fabric. Backstitching, running stitch, and some other specialty stitches are not.
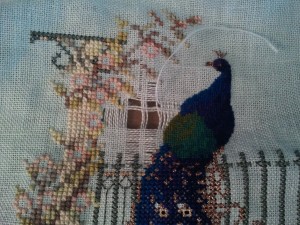
Step 2: Pull out the cut threads
Pulling out the cut threads
When I say “threads” here, I’m referring to the threads of the fabric, not the threads used for stitching.
Very carefully use your needle to un-weave the cut threads until you reach a stitched area.
Remove both horizontal and vertical threads, but only remove the ones that are cut. You don’t want to have to remove any more than you have to!
Do not cut the threads you un-weave!
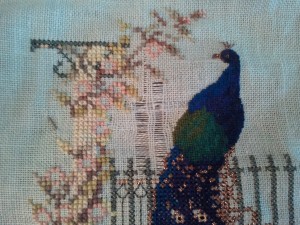
Step 3: Secure the threads

All of the cut threads have been pulled out and tied off on the back
Pull all of the threads you’ve un-woven to the back of the fabric. Tie them off securely by running under the stitches.
Some sections might be complete holes and some might have only horizontal or only vertical threads. Don’t panic!
Step 4: Remove threads from the edges
Remove a thread from the edge of the fabric
Very carefully remove a few threads from the edge of the fabric to use to re-weave the fabric.
I’m not sure if it was because the fabric I’m using is a linen, but I found that the threads I pulled out frayed very easily, and even broke if I pulled too hard. An evenweave may not have those problems. My suggestion would be to use short pieces for re-weaving. The pieces only need to be long enough to cover the length of the missing thread, plus extra for securing.
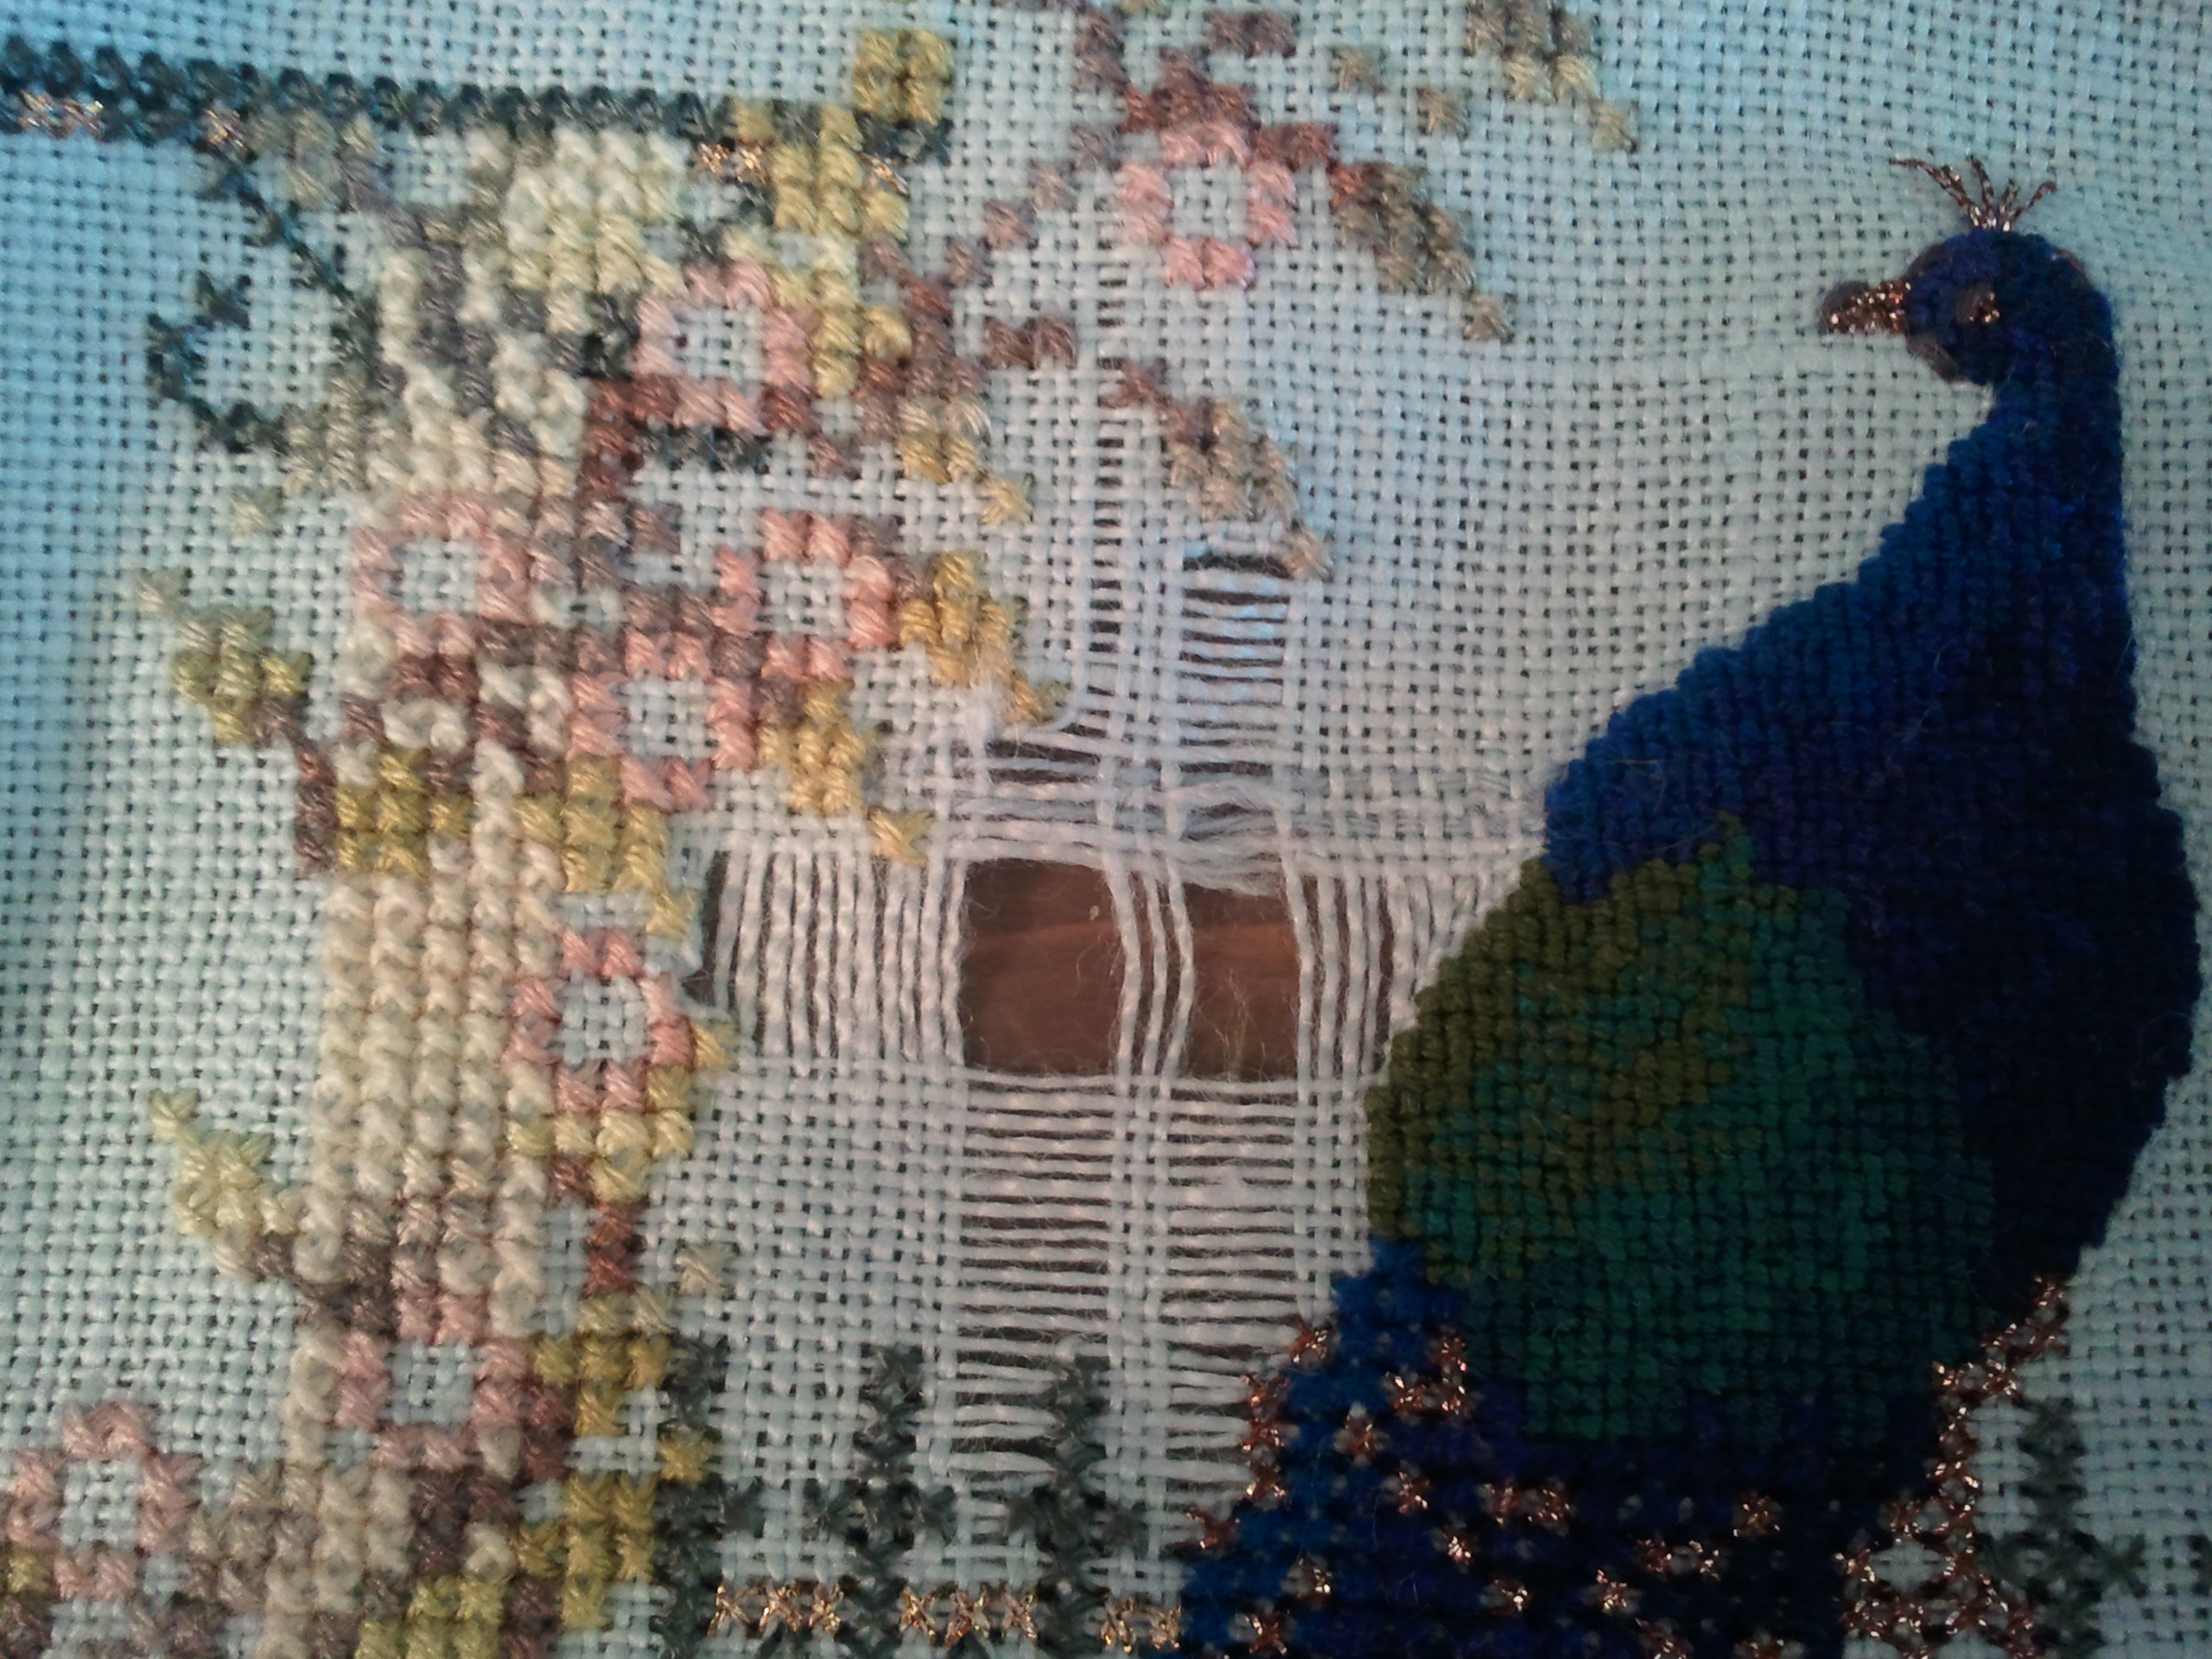
Step 5: Re-weave the horizontal threads
Re-weaving the horizontal threads
It doesn’t matter if you do the horizontal or vertical threads first, but you should do all of one direction before starting on the other one. I chose to do the horizontal threads first, but for no particular reason.
- Start next to a thread still in the fabric, not in the middle of a hole.
- Secure one of the threads you pulled out of the edge in the stitches.
- Weave the new thread over and under the existing vertical threads. Pay attention to get the weave correct. When the existing adjacent thread is going under, you go over. And vice-versa.
- Continue weaving over and under until you reach the stitches on the other side. Make sure the new thread you’ve woven in is straight and pulled with the proper tension to match the existing threads of the fabric.
- Secure the thread by sliding it under the stitches on the back.
- If the remaining thread is long enough to go back the other way, you can continue weaving. Otherwise, tie off and secure a new thread to continue.
Take care to be sure you re-weave the correct number of threads. Double check to make sure the weave is correct and alternates going over and under — in both directions, horizontal and vertical.
Step 6: Re-weave the vertical threads
All of the horizontal threads have been re-woven. On to the vertical threads!
Re-weave the vertical threads the same way as the horizontal threads.
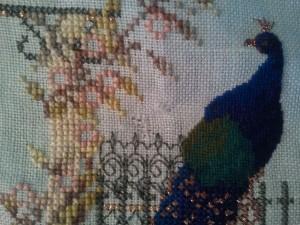
Finished!
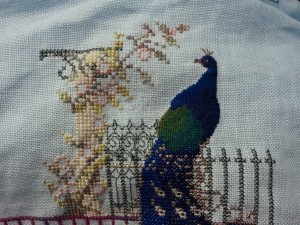
The holes are fixed and the blackwork re-stitched.
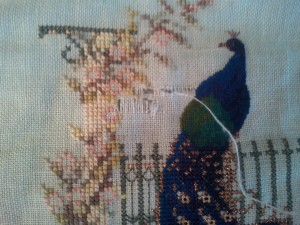
Up close, it’s clear that the fabric was repaired, however when you step back it’s not as noticeable. I didn’t plan on entering this into any contests anyway, and it’s better than starting over!
The repaired piece
While I wish I didn’t have to spend those extra hours fixing the project, the damage could have been worse. And I’ll be sure to keep my project and the scissors out of the toddler’s reach now. 😉